Assembling PrusaI3 at RogLab
The past 12th March, 2014, we gathered with our friends at RogLab to assemble a PrusaI3. This post is to document the process. Thanks to Tea, Nejc and Ivan for being there with us!

To begin with, we prepare the pieces needed:
- 5x NEMA 17 stepper motors
- 1x Melzi electronics
- 1x Metacrilate frame
- 1x set of PLA printed plastic pieces
- 1x set of rods (threaded and plane)
- 1x extruder J-Head MK-V hotend
- 10x linear bearings
- 4x radial bearings
- 2x pulleys and belts
- M3 nuts and bolts

Then, we can prepare the base of the printer, mainly composed by threaded rods tied together in the corners with printed legs.

The position and orientation of the Y-axis motor is very important. For that reason, it is best no to tighten anything until all the axes are put together.

…assembling the platform of the Y-Axis…

..and voila! The base and Y-Axis are ready…the belt was carefully located but still not tightened, as the rest of the printer is still to come…

The X-axis is relatively simple…

..and soon it is ready and waiting for the Z-axis to be completed.

Once the X-Axis is assembled to the Z-Axis, we can proceed to the most complicated element: the Extruder!
It consists of two parts: the cold end (made of printed plastic, a hobbed bolt, two radial bearings and a NEMA17 motor) and the hot end (basically the MK-V and a ceramic resistor)

We attached it to the X-Axis and now we have to carefully display the wiring. The cables are everywhere now!

This is an Arduino Mega to which the RAMPS gets attached
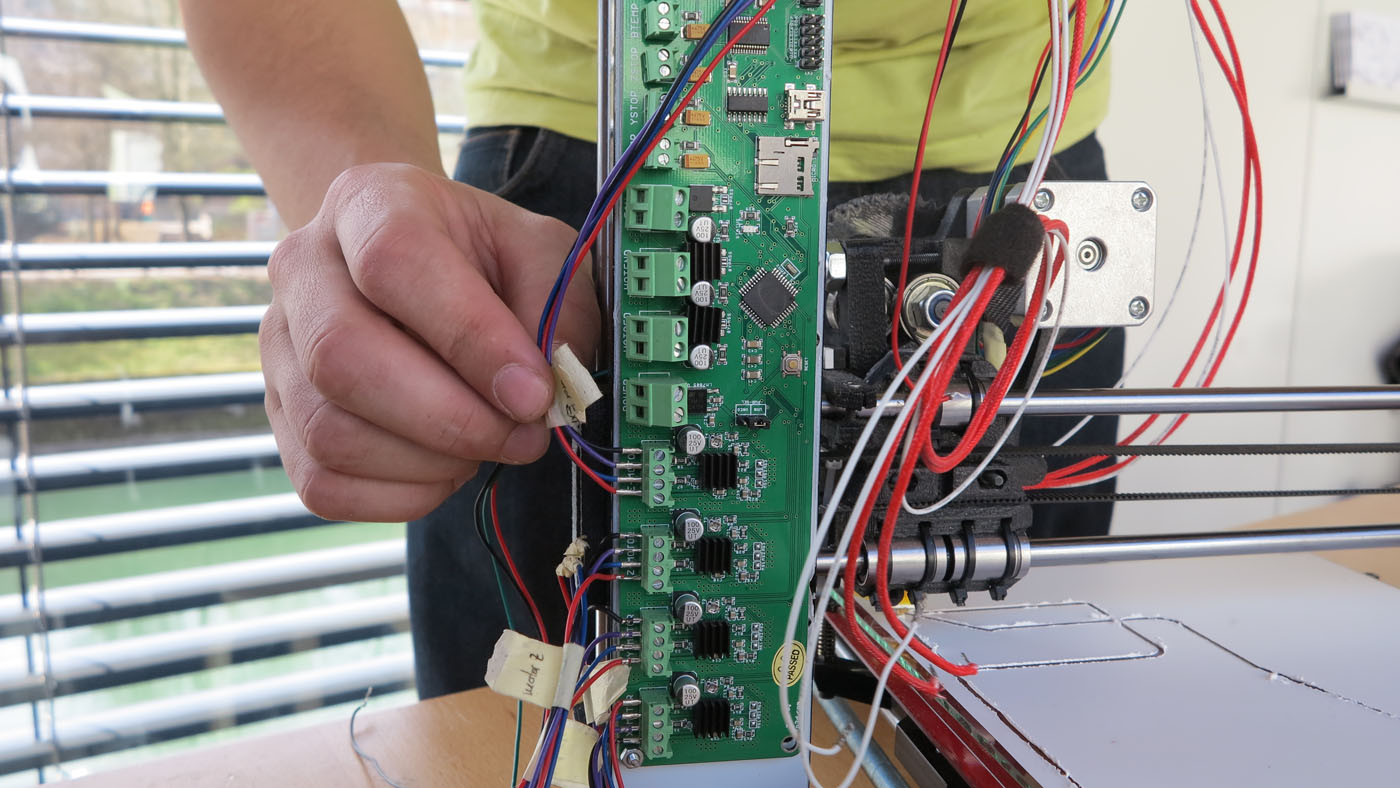
However, we chose a Melzi for this project

..and this is the result ready for calibration!
Total time: about 6 hours of nice assembling and creative chatting!


Nice work. Any test prints yet?
Yes! we have already printed the pieces for our next priner…=D